Example: Smoke Viewer
This example shows you how to use the PhysBAM_OpenGL viewer to
display PhysBAM simulation data step by step. The 2D viewer will be used for demonstration.
The data set used in this example can be downloaded
by the following links:
You can also generate your own data set by running the Smoke project.
Context
Run Viewer and Navigation
Assume that your opengl_2d project path is $OPENGL, and
your data set path is $DATA. Then you can run the viewer using the following
command:
- $OPENGL/opengl_2d_nocona $DATA
You'll see a program window popping up like this:
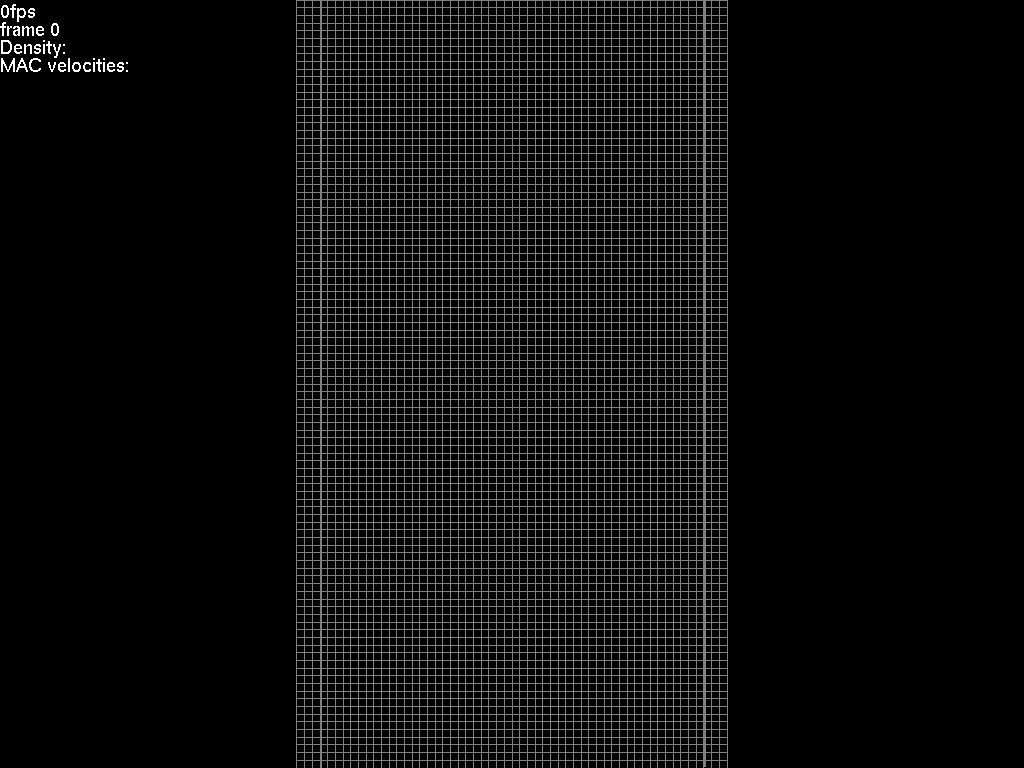
The text shown at the left-top corner is the basic info of the current frame:
the frame rate of animation, the current frame number, the components been
loaded, etc. The grid in the center is the loaded component that been shown. The
density field is also default to be shown, but since the initial field is zero
everywhere, so you cannot see it for now. You can exit the viewer by pressing
'CTRL+q'.
For navigation, left-click or middle-click and drag mouse to pan,
right-click and drag mouse to zoom. If you want to return to the original view, press
'CTRL+r'. Note that, in 3D, left-click and drag is for ArcBall rotation.
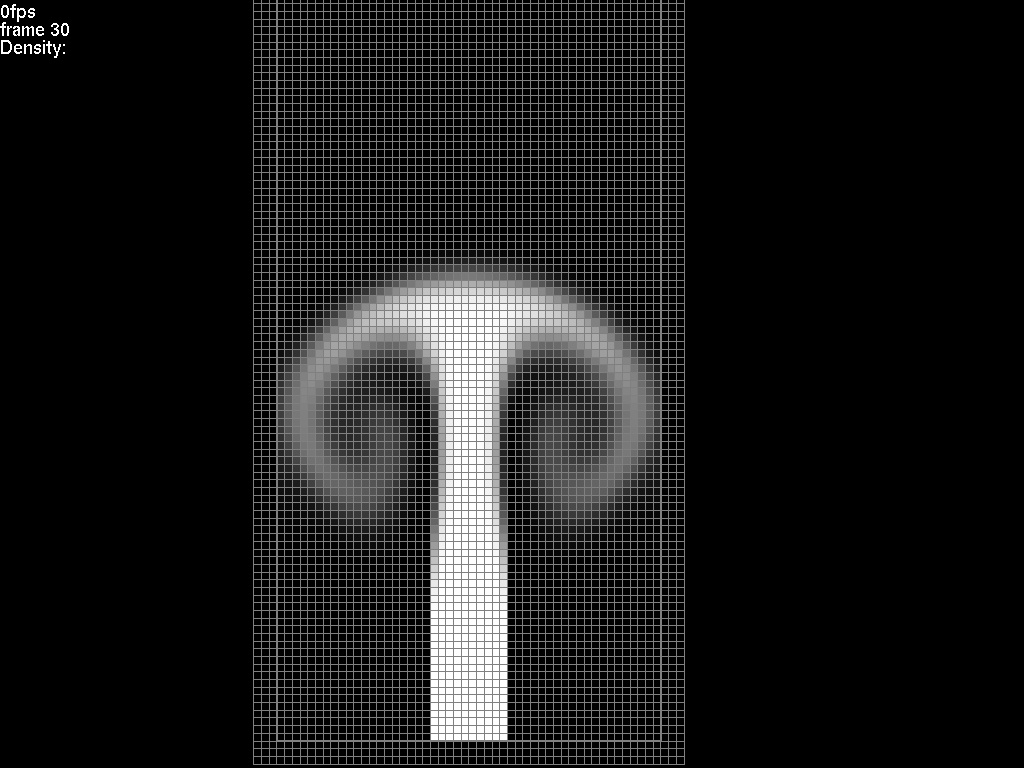
Animation
To play the animation, press 'p'. You'll see a density field flowing
up.
Press 'p' again to stop playing. The following keys also control playing:
- 's': step forward
- 'CTRL+s': step backward
- 'z': go to the last frame
- 'r': go to the first frame
- 'g' and then enter a number (as shown below): jump to the frame number you
entered

Note that the keys are case sensitive.
Show and Hide Components
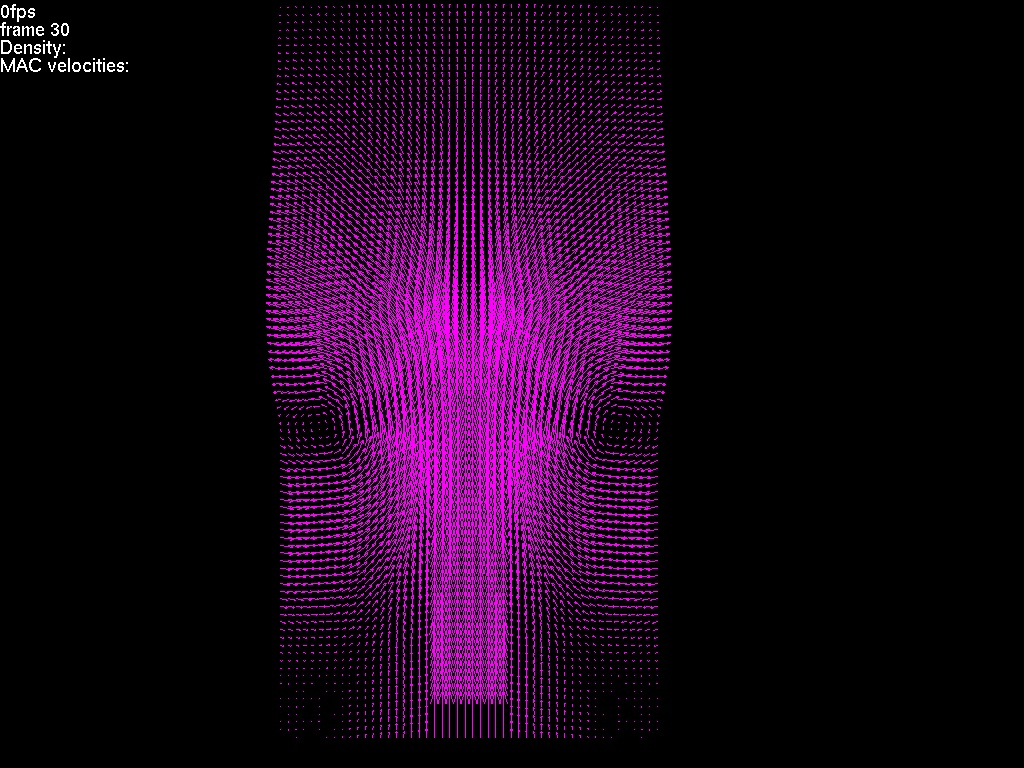
You may want to see how the velocity field looks like.
First goto frame 30. Press 'd' to hide densities and press '6' to hide grids.
Then press 'C' to show velocities.
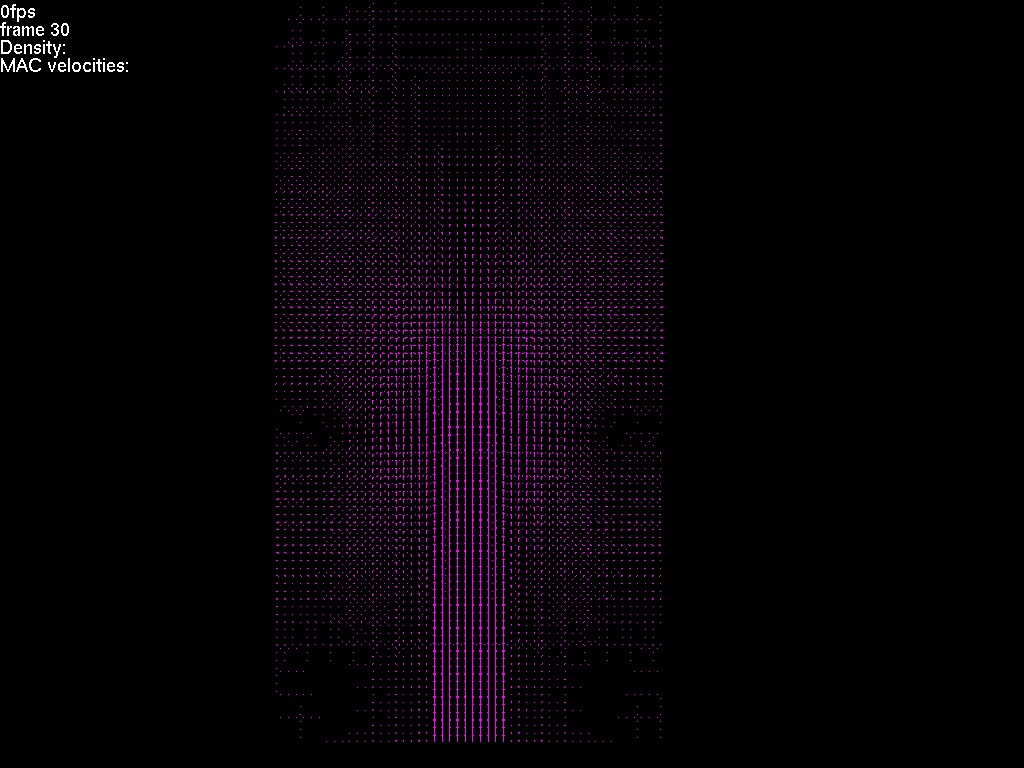
You can press '-' to shorten the velocity arrows and press '=' to lengthen.
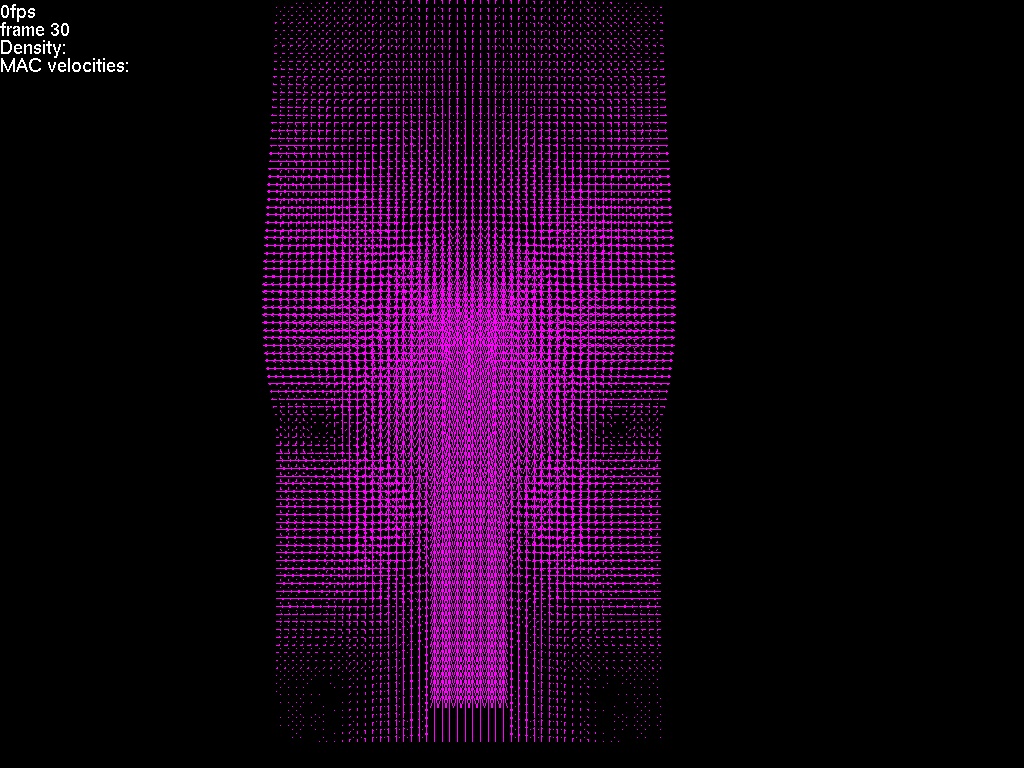
The default display of MAC velocity fields is component-wise and
face-centered. You can switch to vector-based and cell-centered
by pressing 'V'.
In general, if you don't know what key you should use, just press '?',
and the help info will show up:
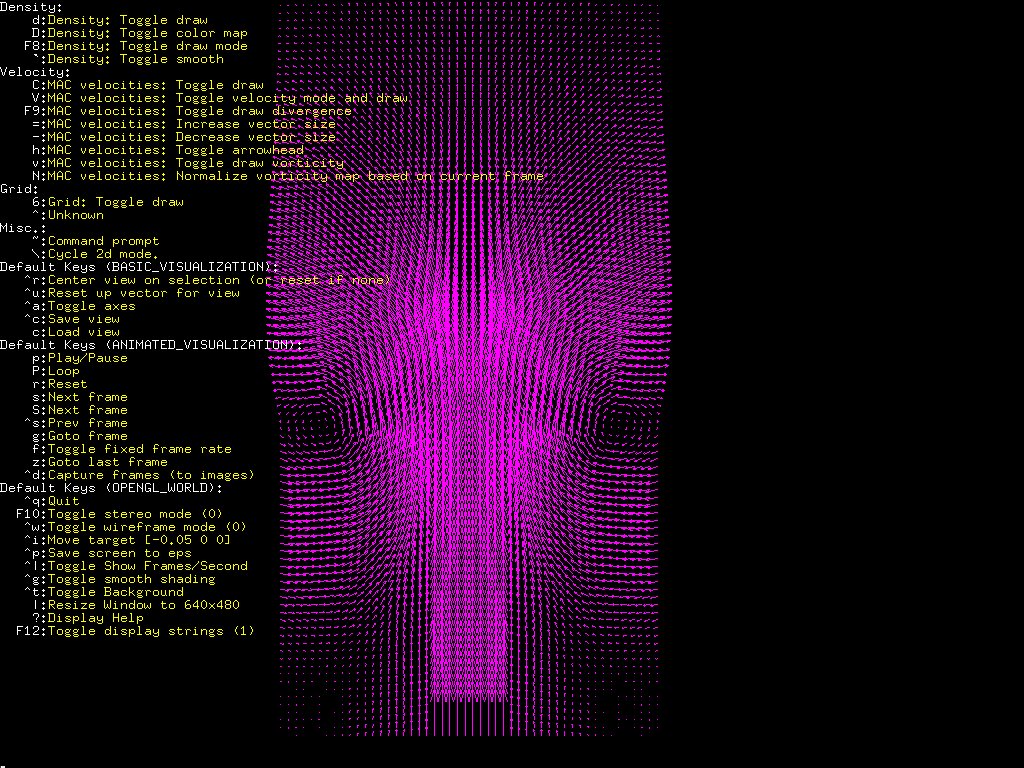
It lists all the keys you can use. You can also tell from the list what components
have been loaded.
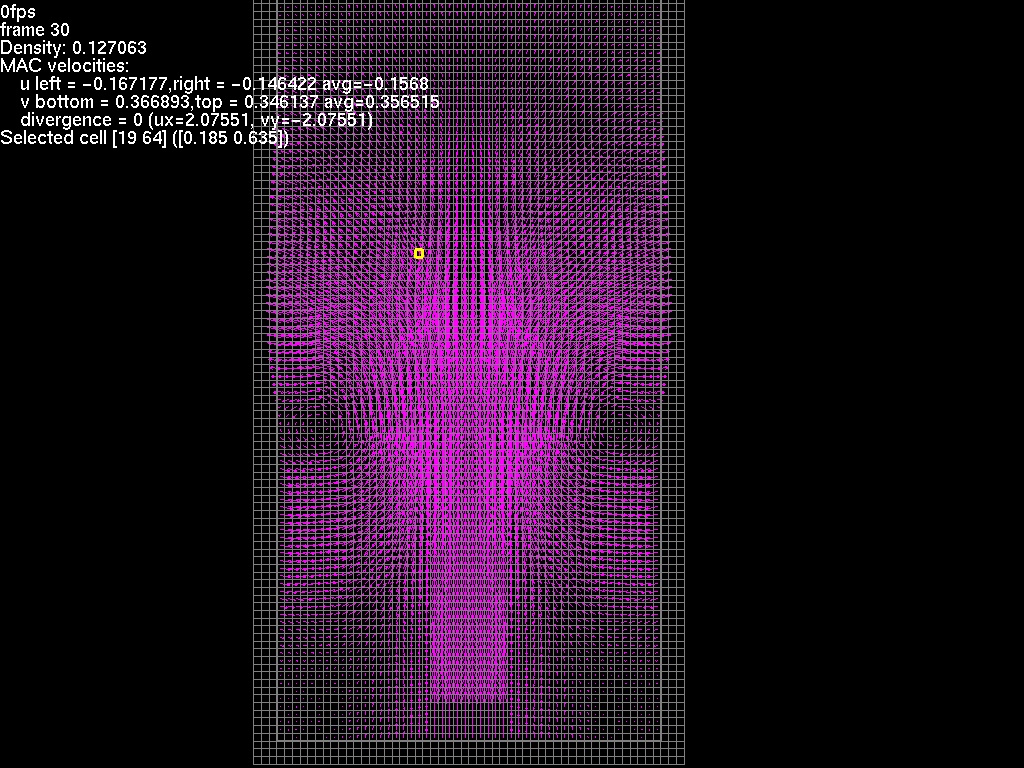
Selection
You can pick an element of a component to see its detial info.
Press '6' to show grid again. SHIFT+click on any cell of the grid, you will see that the
cell you selected is hightlighted and info about that cell is shown on the
left top:
SHIFT+click on the blank space to cancel your selection.
Output
You can dump your rendering into videos or pictures. Press 'CTRL+d', a prompt on
the top will ask you for the output filename:

The filename extension determines the file
format. The supported formats include 'mov', 'ppm', 'jpg', 'png' and 'eps'. The
first one is a video format, the later three are image formats, and the last one
is a vector image format. By pressing 'Enter' without input, the default
filename 'capture.mov' will be used. After you enter the filename, the prompt will ask you
for the frame range:


If no input is given, the start frame and end frame are default to the first and
the last frame respectively. If you're using an image format, and you want each
frame output to an indivisual file,
you can insert a string like '%0Nd' into your filename, where 'N' should be an
integer number indicating the total number of digits. For example, if your
filename is 'output%03d.jpg', then frame 10 will be saved to
'output010.jpg' and frame 1 will be saved to 'output001.jpg'. Instead, if your filename
is 'test%05d.jpg', then frame 10 will be saved to 'test00010.jpg' with two more
leading zeros. The output file will be under the directory from which you launch the
viewer, unless you specify the path in your filename. To cancel the prompt mode,
press 'ESC'.
Save Configuration
By pressing 'CTRL+c', the current configuration of
camera, view direction, etc. will be saved into a file called 'camera_script' in
the $DATA directory. Next time when you view the $DATA directory, the viewer will automatically detect the
'camera_script' file and initialize the view using the saved configuration.
Another file called 'camera_script_render' will also be saved
under $DATA by pressing 'CTRL+c'. It also contains camera info but in a
different format. You might need to use it for ray tracing.
Command Line and Offscreen
There are several command line options to launch the viewer. For example, you
can choose the width and height of the view by the following
- $OPENGL/opengl_2d_nocona $DATA -w [width] -h [height]
You can also render offscreen and output your rendering to a file:
- $OPENGL/opengl_2d_nocona $DATA -offscreen -so output.mov
For more options, use the command line helper
- $OPENGL/opengl_2d_nocona --help